Leaves on this Family Tree

Withering Away

Showing posts with label edging. Show all posts

Sunday, November 3, 2013

Maria's Crown Edging

Maria was a neighbor to my parents from the day she was born until she went to college.
I watched her, and her younger sister, Sarah, grow up and leave the nest to have husbands and homes of their own.
This past month I received an email from Sue, Maria’s mother, telling me that after 6 years of trying, Maria and her husband are expecting a baby boy.
I just LOVE the way this pattern curves with the corner.

After Maria told her mother the news she said, “But Mom, I don’t know anything abut boys.”
Her mother’s response, “In the near future you will learn.”
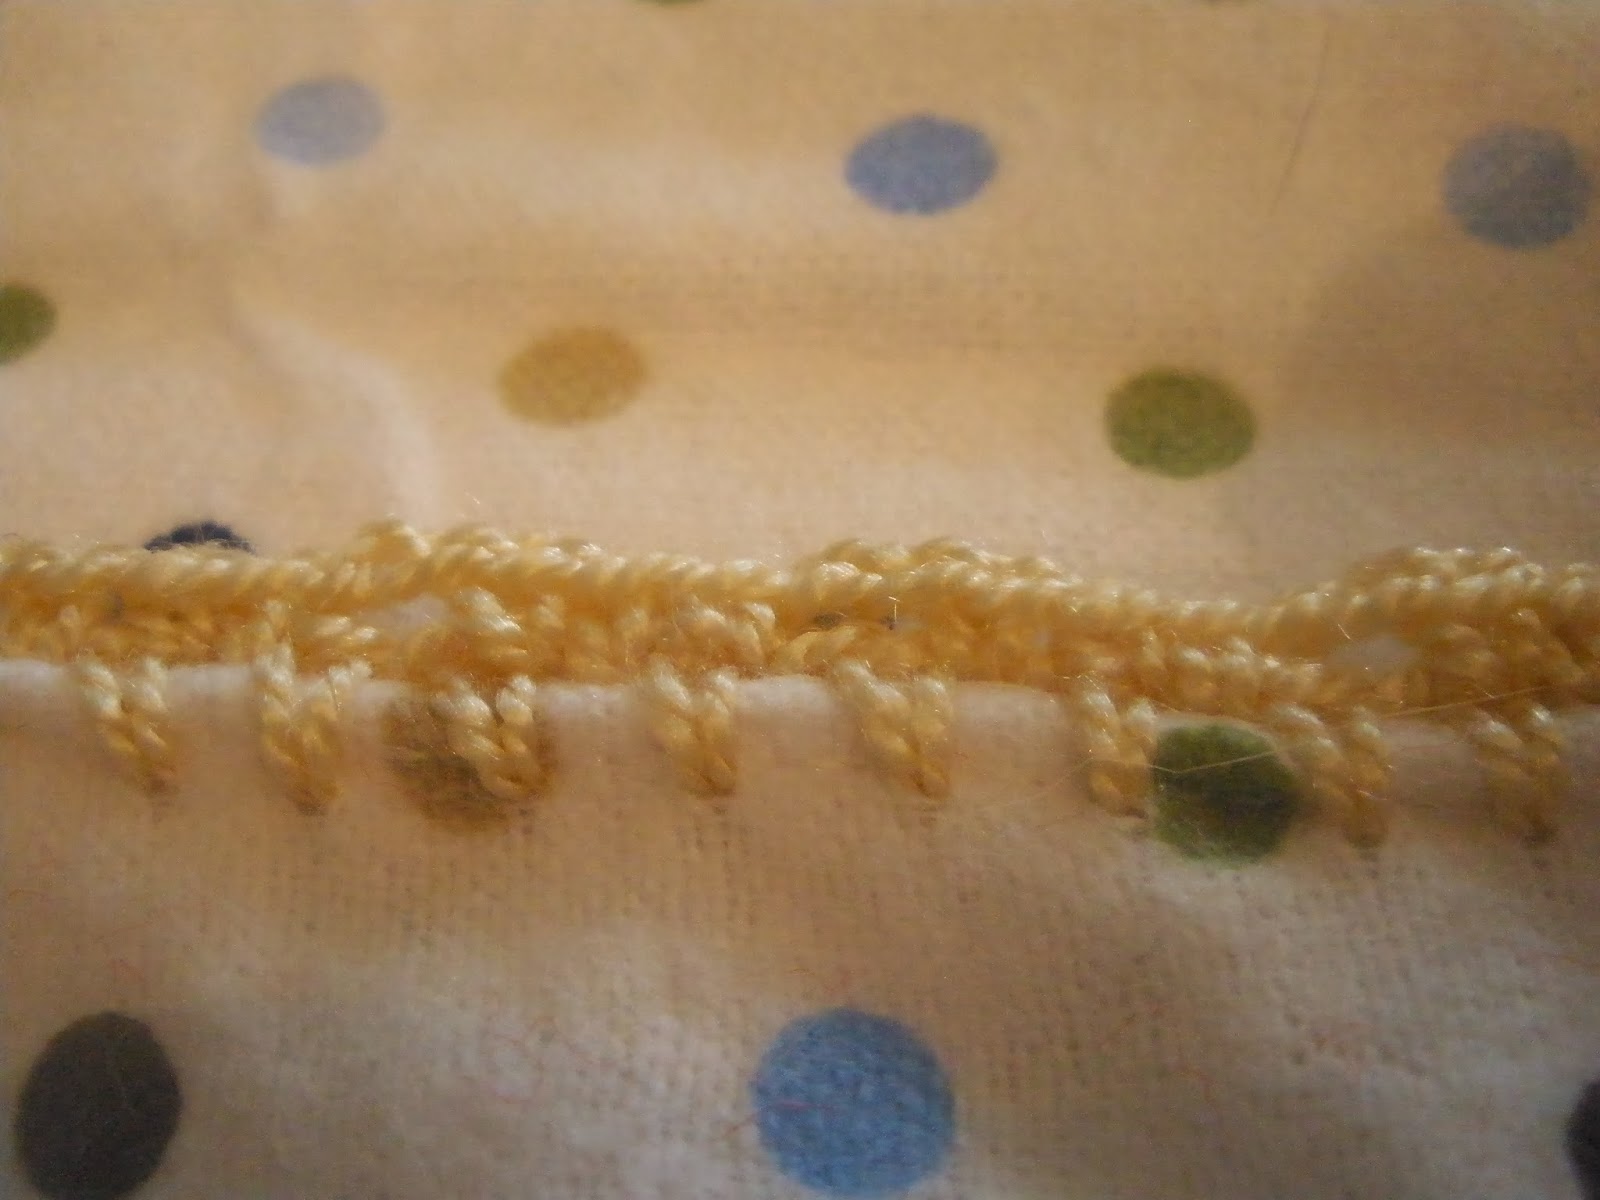
Once a "foundation" rounds has been added, a second round is added.
When Maria and Sarah were born, I designed and made cross stitched samplers for both of them. Since my eyes are no longer good enough for making a new sampler, I will crochet several items for this new addition to our extended neighborhood family. Each item will be designed specially for him.

And finally, the third round is added . . .
doesn't this round look like little crowns?
~*~*~*~*~*~*~
This pattern includes a photo tutorial on adding a crochet “foundation” to an unfinished receiving blanket/piece of cotton flannel. This way, you will not have to find a pre-finished blanket to add this edging to.
~*~*~*~*~*~*~

If you would like to buy the pattern, it is available for $ 2.99 in my Ravelry Store, "The Fur~Babies Momma." 

***100% of the purchase price for the pattern goes 
to no-kill animal shelters in Western New York
 and in my home state of Indiana.***

Thursday, April 18, 2013

Miss Lydia's Crown

Becky and Kenny have been waiting for a baby to adopt. The call came, the mother gave birth last week (Becky was in the delivery room, they are participating in an open adoption) and they are now the parents of a bouncing baby girl.
*~*~*~*~*~*~*~*~*

I knew I had to make Becky something special . . not only did I have her as a student, her Momma and I taught together for ears, and for a lot of those years, we were in a Euchre Club together.

You have already seen the Tulip Cocoon and hat. I wanted to get a piece of light weight pink flannel to make the receiving blanket. When I found the ballet slippers, I knew I had a winner. Becky studied ballet all through school . . . so she will know I picked this material out specially for her baby.


I call this pattern, Lydia's Crown.
(The pattern includes a photo tutorial on how to add a finishing edge
 to an unfinished blanket so the edging may be added.)
Don't you think it has a resemblance to a crown? 
Since Miss Lydia will be treated as a queen . . .
what a perfect name.


If you would like to buy the pattern, it is available for $1.99 in my Ravelry Store, "The Fur~Babies Momma." Just click the buy now button to be transported to my shop.


 ***100% of the purchase price for the pattern goes to Natalie's 2nd Chance Shelter, a no-kill dog shelter in my home state of Indiana. It is a 501(c) 3 non-profit organization***

Sunday, September 9, 2012

Evan's Edgings


This pattern has two variations.

The difference?

The "turn" occurs on different rounds.


The patters also includes very detailed pictures showing how to make a single crochet foundation round for items that are unfinished.

If you are interested in this pattern,
it is available for FREE from my Ravelry shop.
Just click below.

Remember, 100% of the purchase price for the pattern goes to
Natalie's 2nd Chance Shelter,

a no-kill dog shelter in my home state of Indiana.
It is a 501(c) 3 non-profit organization.

Friday, July 20, 2012

Miss Sophie's Ruffle

Sophie is the newest member of out neighborhood. If memory serves me right, she was born Monday, July 9th.

For some reason, I hadn't even thought about making something for her, until I knew she was born. Only one problem, when I heard she was born, I thought she was a he, so I  made the edging blue. By the time I found out that he was a Sophie, I was almost half way done with the first round of V-stitches. There was NO WAY I was frogging. SO, I did a second round of V-stitches, and made them closer together, so the blue would at least be a ruffle.

Then, it dawned on me that the Bernat color "Buttercup" might come close to matching the receiving blanket. Voila! It did . . . so I am finishing the edging with a round of scs in this thread.

I think it had a pretty girlie look now. What do you think?

I had this blanket and was happy
when I discovered it had been blanket stitched around the edge.
Made it so much easier to do the edging.

Isn't that ruffle adorable?
Sure looks girlie to me.
See how close the Buttercup" comes to the blanket color.

I will get the pattern written up and posted for those of you who might be interested.

Wednesday, April 11, 2012

Edging #2


Here is another edging I just "whipped" up.


Well, once I got the buttonhole stitch in
I whipped it up.
I think the bittonhole stitch took longer
than the 5 rows of crochet  it anchors.
The pattern is free.
You can

Monday, April 9, 2012

P*I*S*S*E*D OFF


Can you tell I'm irked? And THAT Is to say it nicely.

I added my pattern, on how to make a button hole stitch,  to the Ravelry library. They took it down and sent me a message telling me it is a sewing stitch, not a crochet or knit stitch.

Well, S*H* I*T!  How the hell and I supposed to attach an edging to an unfinished cloth blanket, bib or hat . . or even a dress for a baby, without knowing how to make something so I can attach the crocheted edging?

Yeah, yeah . . I know that here are places I can google to find out this information, but they never give a step by step photo tutorial, with written explanation to the photos. So, I made my own and, through the goodness of my heart, posted it for free on Ravelry.
Now, I know I could add it here, but it would take forever to get all of the pictures and pattern added.

Besides, if I am on Ravelry and find an edging I want, I want to be able to find a way to add the edging on Ravelry.

Wonder if the person who sent the message is a knitter or a professional crocheter who doesn't need pictured to understand how to do something.

Man, the more I write the more pissed off I get.

So, I removed the two patterns from my Ravelry page, re-wrote ONE version of the tutorial WITH a Ruffle edging so you will h ave how to make the material able to accept the ruffle. Then the ruffle.

Maybe the Ravelry Goddess who deleted the other one will let this one stay.

Here is the new link . . .  download here . . . long it is going to be up there, so download now if you want a 7 page tutorial and pattern on how to add a button hols stitch to any material so you can EASILY add an edging to it.

Friday, April 6, 2012

Receiving Blanket


Here is the latest item I have finished for Miss Ellie Grace. Her Momma picked out the items for her room at Sears . . butterflies that are in the lavender color scheme with some pink and green. I needed more blankets, but didn't have time for a Sears run, so WalMart had to do.
I found a set of pale green patterned blankets so I decided to add edgings to them. Well, to as many as I can before the shower. This way, I have the lavender/purple and green thing going for me :-}

Ellie's Green Receiving Blanket

Materials:
  1 receiving blanket
#10 Crochet Thread
 Crochet Hook - either choice
    Steel - 3/2.10MM
    Aluminum - B/1-2.25MM
     (For me, the thread works better on the steel . . but it is you preference.)
 Yarn / Tapestry needle

Abbreviations:
ch - chain
dc - double crochet
sc - single crochet
sl st - slip stitch
sp - space
st - stitch

You do not need to do these two steps, but I feel they make the edging neater AND that makes your 1st Round neater.

Step 1:
Before you start, you will need to iron the blanket . . . I know, that dirty 4 letter word I-R-O-N!
Step 2:
Fold 1/4" of the blanket edging to the back and iron the crease. This step helps you maintain the hem you need.
If your blanket has a pattern you can use that as your gauge for round 1. (My pattern was 1/4" x 1/4" checks.) The width of your stitch should also be the depth of your stitch.

Round 1: Thread your needle and blanket stitch around the edge of the blanket. (I would suggest 1/8" to 1/4" intervals. Fasten off and secure all threads.)

Round 2: Attach thread with a sc anywhere on the blanket st. Ch 1, sc in same sp, evenly sc around the blanket stitch thread, sl st to beginning ch 1.
Some of the blanket stitches are longer than others . . . no problem.
In the finished blanket, they don't show up like they do in this close-up.

Round 3: Ch 1, sc in same st, *ch 3, sc in next st,* repeat from * to * around, stopping 1 stitch before the end. To finish this round, dc into the beginning sc.

Doesn't it look like the ch 3's are different heights?
That is caused by the "ruffling" of the stitches starting.

Round 4: Ch 1, sc in the space just made by the dc you used to finish Round 3, then repeat Round 3.

You may finish now or do as many rounds as you like.

Hint . . . do you like how I "park" my hook? I started doing this when I lost the hook I was using.


By the way . . . it felt like it took forever to get to Round 2 . . but once I started Round 3 . . .  it seemed to go faster.

If you would like a tutorial on how to make the Buttonhole Stitch and this pattern, download here for a PDF copy.