Leaves on this Family Tree

Withering Away

Showing posts with label catnip toys. Show all posts

Wednesday, March 18, 2015

Catnip Doves

I haven't made anyting for our local No-Kill Maternity Dog and Cat shelter. I figured it was about time.


The pattern is very simple.


Catnip Doves
Materials and Supplies
#4 Worsted Weight Cotton
   Color A: I Love This Cotton                     “Fiesta”
   Color B: I Love This Cotton                    “Pink”
   Color C: I Love This Cotton                    “Baby Blue”
   Color D: I Love This Cotton                    “White”
  
   Crochet Hook: G/6-4.25MM
   Tapestry/Yarn Needle
   Scissors
   Polyester Fiberfill
   Catnip

Abbreviations and Stitches
 ch = chain
 dc = double crochet
 hdc = half double crochet
 Rnd = round
 sc = single crochet
sk = skip
sl st = slip stitch
sp = space
st(s) = stitch(es)
yo = yarn over
 MC – Magic Circle (http://furbabiesmomma.blogspot.com/2011/10/how-ro-make-magic-circle.html)
Notes
1.    Doves can be made with one 
          color or change colors.
2.   When joining a new color, 
       join it in the last part of the       
       previous st. (example shown is a sc, yo, 
            pull through, and then use the new color to finish 
            the st.)

BODY
Rnd 1: Using a MC, ch 2, make 10 hdc into the circle,
             sl st to beginning ch 2 to join, ch 2.

Rnd 2: 2 hdc in the same st, 2 hdc in each st around, 
             sl st to beginning ch 2 to join, ch 2.

Rnd 3: Hdc in the same st, *2 hdc in the next st,
             hdc in the following st,* repeat from * to * around, 
             sl st to beginning ch 2 to join, ch 2.

Rnd 4: Hdc in the same st and next st, *2 hdc in the next st, 
             hdc in the following 2 sts,* repeat from * to * around, 
             sl st to beginning ch 2 to join, ch 2.

Rnd 5: Hdc in the same st and next 2 sts, 
            *2 hdc in the next st, hdc in the following 3 sts,* 
             repeat from * to * around, sl st to beginning ch 2 to join, 
             fasten off, weave in end.


EDGING with TAIL, HEAD and BEAK
1.      Join yarn at the seam of the body, ch 1, sc in the same st.
2.      Fold circle in half to form body.
3.      Sc front and back together, stopping 10 sts from the end.
4.      NOTE: you may want to place 2 sc in some sts 
                     to keep the shape of the body rounded
5.      Stuff body with Fiberfill and Cat Nip.
6.      Continue scs to the end, ch 2, turn.
TAIL
7.      Place 2 hdc in the same st as the last sc, ch 2, turn.
8.      Place 2 hdc in the same st and 1 hdc in the next st, ch 2, turn.
9.      Dc in 1st st, 2 dc in the next st, ch 1.
10.  Sc down tail and into the base st of the tail, ch 1.
TOP EDGING
11.  Sc between Rnds 4 and 3, ch 1
12.  Sc between Rnds 3 and 2, ch 1.
13.  Sc between Rnds 2 and 1, ch 1.
14.  Sc between Rnds 1 and 2 on the other side of Rnd 1, ch 1.
15.  Sc between Rnds 2 and 3, ch 1.
16.  Sc between Rnds 3 and 4, ch 1.
17.  Sc at the base of Rnd 4.
HEAD
18.  Place at between 9 and 11 dc in the same st as the last sc,
         sl st to edging, ch 2, turn.
BEAK and FINISHING HEAD
19.  Dc in the 1st st
20.  Sc in remaining sts on the head, sl st to the back edging, 
       fasten off, weave in end.

Monday, October 28, 2013

Catnip Toys


My latest treasures 
for Pet Connection Programs maternity shelter. 

If you are interested in any of the patterns
let me know . . . 
they are all free.

Sunday, September 22, 2013

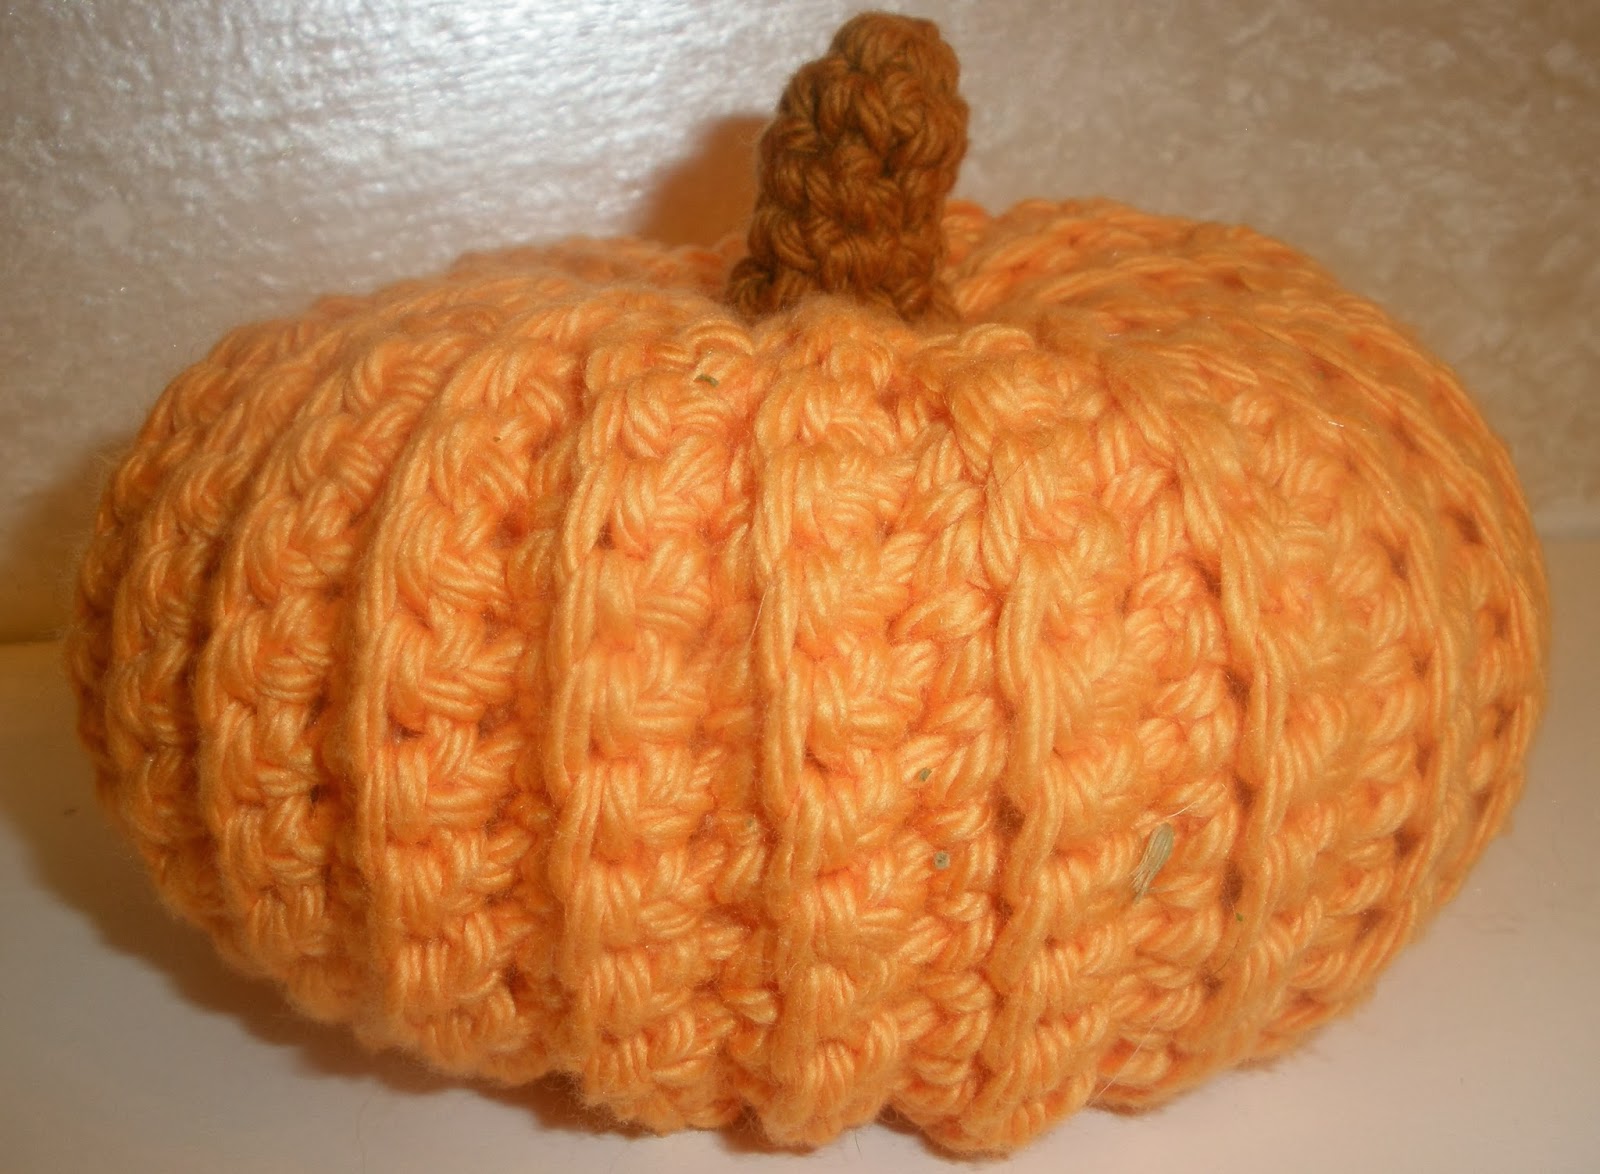
Pumpkin Stuffie . . . 2013


Approximately 3" in diameter and 2" tall.
Made out of Cotton a'la Mode

This is a "stuffie" that you could make as a decoration for your fall display OR do what I did, add 2 - 3 tablespoons of catnip to the middle f the stuffing and they become a fall catnip toy. Mine are going to Pet Connections, Inc. in Marilla, NY for Penny's Life Fund. 

Penny is a 7 year old beagle who just had 10 babies and has several medical problems facing her when the babies are weaned, so any amount of money they can bring in for her medical bills is appreciated. (Read that as Please donate anything you can to help this sweet baby and her babies out.)


Materials:
   #3 Yarn in three colors: pumpkin color, stem color and vine/tendril/leaf color
  Crochet Hook: E/4-3.50mm
  Scissors
Stitch Markers
Polyester Fiberfill / Stuffing
  Catnip, if needed for cat toy

 ABBREVIATIONS and STITCHES
bl – back loop

sc – single crochet
ch – chain

sp(s)  - space(s)
hdc – half double crochet

st(s) – stitch(es)
Rnd(s) – round(s)

tc – treble crochet
    MC – Magic Circle (http://furbabiesmomma.blogspot.com/2011/10/how-ro-make-magic-circle.html)

NOTES                                                                                                               
1.      Any yarn will work, just match the appropriate hook with it.
2.      You want a hook that will make the yarn tight, so the stuffing stays  
       inside the pumpkin.

PUMPKIN
Row 1: Ch 21, sc in 3rd ch from the hook, sc in the next 15 sc, ch 1,
             turn. (16 sc and 4 empty sts)

Row 2: Sc in bl of the same st and the next 11 sts, ch 1, turn.
             (12 sc and 4 empty sts)

Row 3: Sc in bl of the same st and the next 11 sts and 4 empty sts,
             ch 1, turn. (16 sc)

Row 4: Sc in bl of the same st and the next 15 sts and 4 empty sts,
             ch 1, turn. (20 sc)

Row 5: Sc in bl of the same st and the next 15 sts, ch 1, turn.
              (16 sc, 4 empty sts)

Repeat Row 2 – 5 until you have completed 63 Rows.

Joining
Row 64: Match Row1 with Row 63, sc the bl of all sts in Row 63
              (including the 4 skipped sts) to Row 1. Fasten off leaving a
              LONG tail for finishing.

FINISHING
1.       Weave tail through ends of rows and pull tightly, fasten off and leave tail 
        on the inside of the pumpkin.
2.       Cut another piece of yarn and weave through the other ends of the pumpkin.
3.       Tightly stuff pumpkin.
4.       Pull ends of yarn (in step 3) tightly to close the center.
5.       Knot yarn, weave both pieces through  the center close made in 
        Step 1 above and back to the top.

Notice how the center indents like a pumpkin?
6.       Pull both ends to give your pumpkin its shape.
7.       Fasten off and bury yarn in the stuffing.


STEM: do not join at the end of the rnd work in a spiral.
Rnd 1: Using brown, and a MC, ch 1 and make 5 dc into the ring, Mark
             beginning of next Rnd with a st marker.

Rnds 2 – 5: sc in each st, fasten off after last rnd leaving a long tail for joining.

Join stem over the center close at the top of the pumpkin. 
(Decide which center of the pumpkin may need to be hidden, 
 this will be the top.)

VINE TENDRIL
1.       Using green yarn, chain 30, make 2 sc in the 3rd ch from hook and each
       ch to the beginning, fasten off leaving a long tail for joining.
2.       Attach to center of close of pumpkin then attach stem to hide tendril attachment.

VINE with LEAF
1.       Follow pattern for Vine Tendril, DO NOT fasten off.
2.       Ch 8, sc in 3rd ch from the hook, hdc in next ch, dc in next 2 chs
        and tc in the last ch, fasten off leaving a long tail for attaching to pumpkin.
3.       Attach step through top of vine and leaf to pumpkin.


Approximately 3" in diameter and 2" tall.
Made out of Cotton a'la Mode

Approximately 4.5" in diameter and 3" tall.
Made out of Red Heart Super Saver.
For printing this pattern. click on the Printer/PDF icon below or, click this link to download the pdf pattern from my Ravelry Store.

Tuesday, September 17, 2013

Pumpkin, Monkeys, No Bears, Oh My !

I was working on a Christmas Present for my step-great nephew yesterday and all of a sudden it hits me . . this pattern would make a GREAT Pumpkin, with a few adaptations. 

This morning I started on it and the more I worked, the happier I was. I now have the softest Cat Nip Toy for Pet Connection Programs and Penny's Life Fund.

By the way, they are less than halfway to their goal of $2,800 . . . so, if you can see you way to do it, please click this link and donate whatever you can.

Now, back to the pictures. Here is the start of the next box to be mailed for them to sell and, hopefully, make some money for Penny's Life Fund.

LOVE the indent on the bottom . . . it makes me smile when I see it.

I need to add a Curly-Q tendril to the top, but I can't find my green yarn. So that last step will have to wait a while.


Why is it that my monkeys NEVER look as good as the ones in the Red Heart Monkey Ornament pattern? Even when I add eyes, they still look like they have been on a "bender."


Monday, November 22, 2010

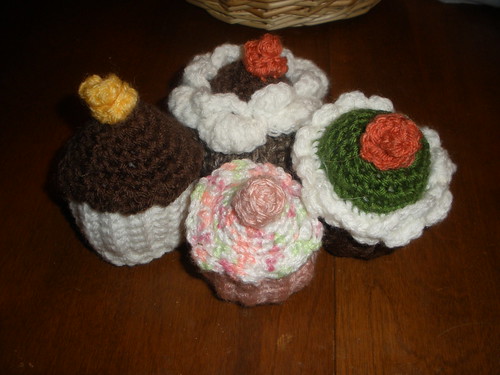
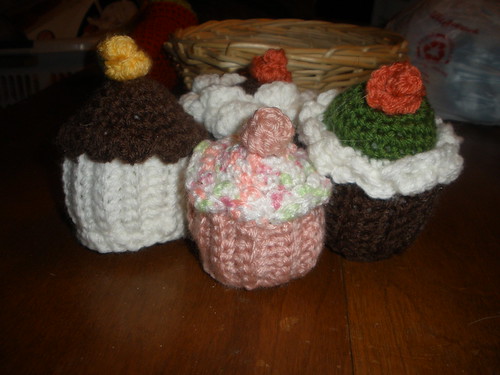
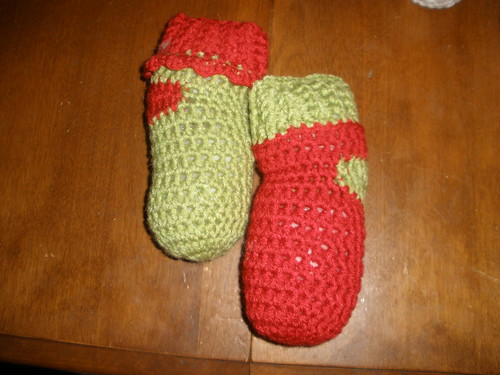
Catnip Toys

I have been working on these this weekend . . .all stretched out in my new reclining sofa . . which took me two days to find the most comfortable way to sit in/on it. They are all boxed up and ready to be sent to the Wyoming County (NY) SPCA. Hope they make tons of money from them and keep me busier than a beaver making more.
Sock Monkey: http://www.redheart.com/free-patterns/sock-monkey-ornament


I didn't post the links to the patterns. If you would like the links, let me know and I will dig out the patterns. (I got to where I was doing them from memory and the patterns got on the bottom, I hope, of my pattern stack.)

Thursday, November 4, 2010

Another One I Forgot

Here are my Catnip Toys . . sitting in a basket of leftover Halloween Candy.

What do you think? We have apples, tomatoes, a pumpkin and a squash.


And I forgot to post this one last week . . this is my Chocolate Almond Candy . . just waiting to be broken up into bite sized pieces.